To safely clean your dog’s ears, gather supplies like a veterinarian-approved ear cleaner, gauze, and treats. Create a calm space and gently inspect your dog’s ears for any signs of infection. Apply the cleaner to the ear canal, massage the base for 20-30 seconds, then wipe the outer ear with gauze. Keep an eye on any signs of discomfort or infection afterward. Knowing the right techniques and indicators can help keep your dog’s ears healthy.
Key Takeaways
- Gather all supplies, including veterinarian-approved ear cleaner and soft gauze, in a calm environment before starting the cleaning process.
- Position your dog comfortably and use gentle words to reassure them throughout the procedure.
- Apply the ear cleaning solution into the ear canal without over-inserting and massage the base of the ear for 20-30 seconds.
- Wipe the outer ear with a cotton ball or gauze, removing any excess cleaner and debris after the massage.
- Monitor your dog for signs of discomfort or infection, and consult a veterinarian if issues arise.
Importance of Regular Ear Cleaning
When you prioritize regular ear cleaning for your dog, you greatly reduce the risk of infections and discomfort. This routine is essential, especially for dogs prone to ear infections, as it prevents the buildup of debris, wax, and bacteria in the ear canal.
Maintaining clean ears supports overall hygiene and health, minimizing issues from allergies or breed-specific traits. Dogs with floppy ears or those who swim often may need more frequent cleaning to avoid moisture-related complications.
Regular checks guarantee any necessary medications can reach the infection site, promoting your dog’s well-being and encouraging a healthy, happy life.
Supplies Needed for Ear Cleaning
To effectively clean your dog’s ears, you’ll need a few essential supplies.
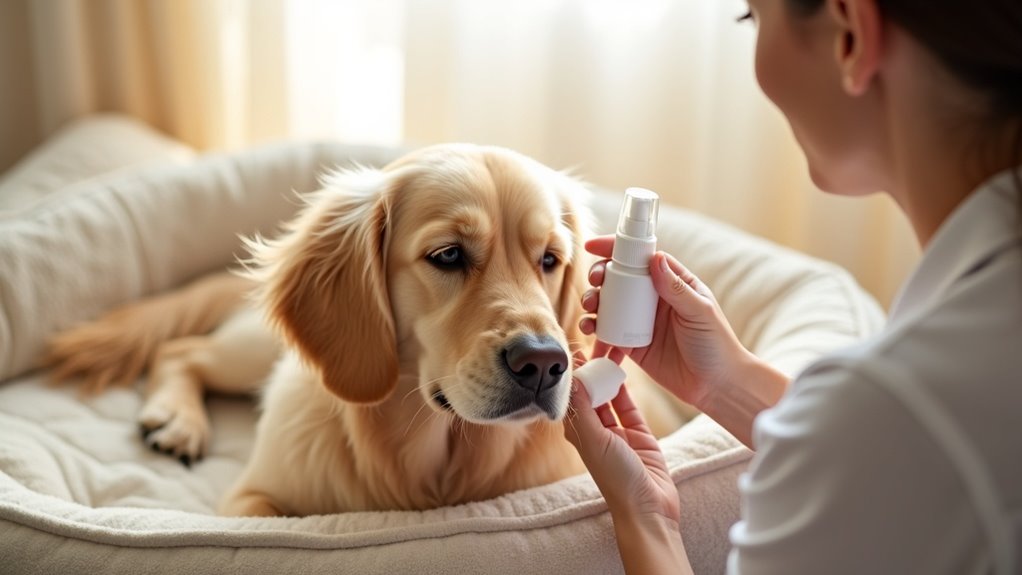
Start with a veterinarian-approved ear cleaner, like Epic Clean, and have soft gauze or cotton pads ready for wiping.
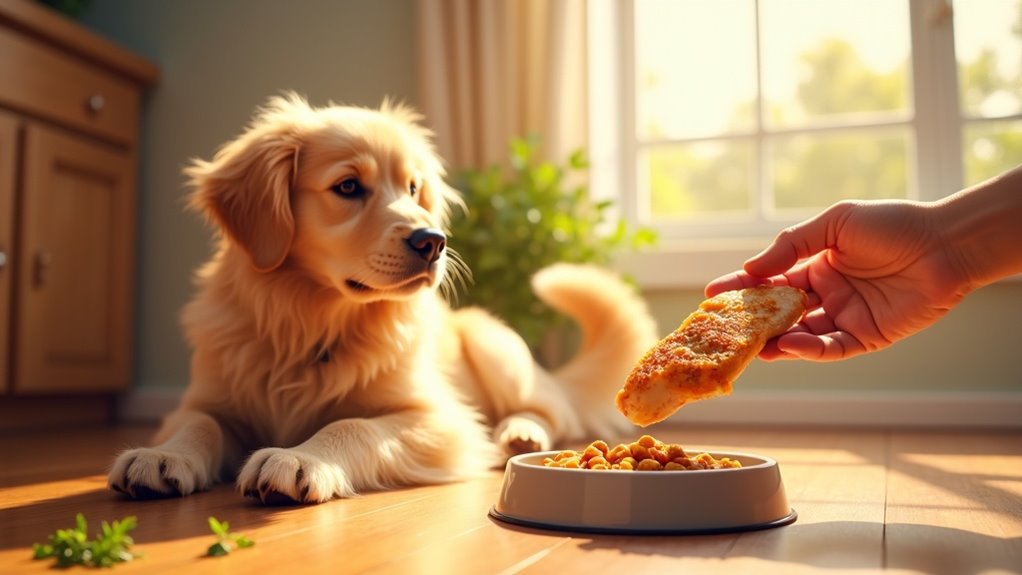
Remember to keep treats on hand for positive reinforcement, making the process more enjoyable for your furry friend.
Essential Cleaning Supplies
Gathering the right supplies is essential for effective dog ear cleaning. Start with a veterinarian-approved ear cleaner, ensuring it’s free of alcohol and hydrogen peroxide to prevent irritation.
You’ll need soft gauze or cotton pads to gently wipe the ear canal, as cotton-tipped swabs can cause harm. Create a clean, dry area for the cleaning process, promoting a comfortable environment for your dog.
Have treats ready for positive reinforcement, helping your dog associate ear cleaning with a pleasant experience. If prescribed, include ear medication in your supplies, following your veterinarian’s specific instructions for aftercare.
Recommended Ear Cleaner Types
Choosing the right ear cleaner for your dog is crucial for maintaining their ear health, and several effective options exist.
Opt for veterinarian-approved ear cleaners specifically formulated for dogs, containing antibacterial or antifungal ingredients to guarantee safety. Avoid solutions with alcohol or hydrogen peroxide, as they can irritate sensitive skin inside the ear canal.
Essential supplies include cotton balls or gauze for wiping and a clean towel to catch debris. Remember, never use cotton-tipped swabs, as they can push debris deeper.
Always consult your veterinarian for personalized recommendations on suitable ear cleaning solutions tailored to your dog’s needs.
Preparing Your Dog for Ear Cleaning
Creating a calm and quiet environment is essential for successfully preparing your dog for ear cleaning. Make sure you gather all necessary supplies beforehand—cleaning solution, cotton balls, and treats—to minimize interruptions. Position your dog comfortably, either sitting or lying down, for easy access to their ears. Use gentle, reassuring words and petting to create a positive association with the process. Always check that your dog is healthy and free from any ear infections, as this may require veterinary assistance.
| Step | Action | Purpose |
|---|---|---|
| Choose Environment | Calm and Quiet | Helps your dog feel secure |
| Gather Supplies | Cleaning solution, cotton balls, treats | Minimizes interruptions |
| Position Dog | Sitting or Lying Down | Guarantees comfort and access |
| Use Reassurance | Gentle words and petting | Builds confidence |
| Check Health | Look for infections | Guarantees safe cleaning |
Step-by-Step Ear Cleaning Procedure
When you’re ready to clean your dog’s ears, follow this step-by-step procedure to guarantee a safe and effective experience.
Start by positioning your dog comfortably, then hold the ear cleaning solution in your dominant hand. Gently grasp the ear flap and pull it straight up. Squeeze the ear cleaning solution into the ear canal, ensuring it fills without over-inserting the nozzle.
Gently massage the base for about 20-30 seconds to loosen debris. Allow your dog to shake their head to expel the solution, using a towel to catch mess.
Finally, wipe the outer ear with a cotton ball or gauze. If concerns arise, consult with your veterinarian.
Post-Cleaning Care and Observation
After cleaning your dog’s ears, it’s essential to monitor their behavior and the condition of their ears.
Monitor your dog’s behavior and ear condition after cleaning to ensure their comfort and health.
Allow your dog to shake its head to expel any excess cleaning solution. Check for any signs of discomfort or pain, as these may indicate an underlying issue requiring veterinary consultation.
Gently wipe the outer ear with a cotton ball to remove residual debris. Regularly observe for changes in appearance or odor, which could signal the need for additional cleaning.
Remember to use positive reinforcement, offering treats and praise, to create a positive association with the ear cleaning process.
Signs Your Dog May Need an Ear Flush
If you notice your dog frequently scratching or pawing at their ears, it’s a sign they might be experiencing discomfort that could require an ear flush.
Additionally, a foul odor from their ears or visible discharge may indicate an underlying issue that needs attention.
Keep an eye out for any swelling, as these symptoms can suggest the need for a thorough cleaning and possibly a visit to the veterinarian.
Scratching or Pawing Ears
Scratching or pawing at your dog’s ears can signal discomfort and the need for an ear flush. This behavior often indicates irritation within the ear canal, possibly due to debris or wax buildup.
Frequent head shaking may accompany the scratching, suggesting trapped material or infection. Observe for signs of inflamed ears; redness is a clear indicator that an ear flush could help reduce inflammation and alleviate discomfort.
If you notice any unusual discharge, such as yellow, green, or bloody, it’s vital to seek veterinary assistance immediately, as this may point to a serious infection requiring more than just an ear flush.
Foul Odor Presence
Have you noticed a foul odor coming from your dog’s ears? This unpleasant smell can indicate a buildup of bacteria or yeast, often signaling that an ear flush is necessary to prevent ear infections.
Your dog may also show signs of discomfort, like scratching or shaking their head. If you detect a strong, yeasty smell, it might suggest an overgrowth related to allergies or moisture.
Additionally, look for redness or swelling; these symptoms require immediate veterinary attention.
Regular cleaning your dog’s ears with an appropriate ear-cleaning solution can help maintain ear health and prevent these issues.
Visible Discharge or Swelling
Visible discharge or swelling in your dog’s ears can be alarming and often signals the need for an ear flush. If you notice yellow, green, or bloody discharge, it likely indicates an infection that requires immediate attention.
Swelling or redness suggests inflammation, necessitating a thorough cleaning to prevent further complications. Additionally, if your dog frequently scratches or shakes its head, there may be an underlying issue needing an ear flush for relief.
Unpleasant odors often point to bacteria or yeast presence, highlighting the importance of prompt action to maintain ear health and prevent serious issues. Regular checks are essential.
Choosing the Right Ear Cleaner
When selecting the right ear cleaner for your dog, what factors should you consider to guarantee their ear health? First, choose ear cleaners specifically formulated for veterinary use, avoiding alcohol or hydrogen peroxide to prevent irritation. Look for products with antibacterial or antifungal ingredients to combat infections effectively. If your dog struggles with ear wax, select a cleaner designed to break down waxy buildup. Always consult your veterinarian for tailored recommendations based on your dog’s health needs.
| Feature | Importance |
|---|---|
| Antibacterial/Antifungal | Prevents infections |
| Safe for Routine Maintenance | Supports ear health |
| Waxy Buildup Solution | Addresses ear wax accumulation |
When to Consult Your Veterinarian
Although routine ear cleaning is essential for your dog’s health, there are times when consulting your veterinarian becomes necessary.
Watch for these signs:
- Discharge: Unusual discharge, such as yellow, green, or bloody fluid, requires immediate attention.
- Visible Symptoms: If your dog’s ears are red, swollen, or emit a foul odor, it’s important to seek help to rule out ear infections.
- Pain or Discomfort: Pain during ear handling or recurrent ear infections indicates an underlying issue.
Always prioritize your dog’s well-being and consult your veterinarian if you notice these concerning signs.